Introduction
In this installation guide we have provided step by step instructions to the 27WON Performance Track Vent
Tools
Parts
-
-
First and foremost; THANK YOU for becoming a part of the 27WON Family. We hope to REDEFINE your experience of the aftermarket with the highest level Parts, Customer Service, Packaging, & Support
-
-
-
The window vent design shown may not match the track vent you own. The design does not effect the fitment, therefore the installation process will be the same
-
The window vents are shipped with a protective film installed - remove this film before installation
-
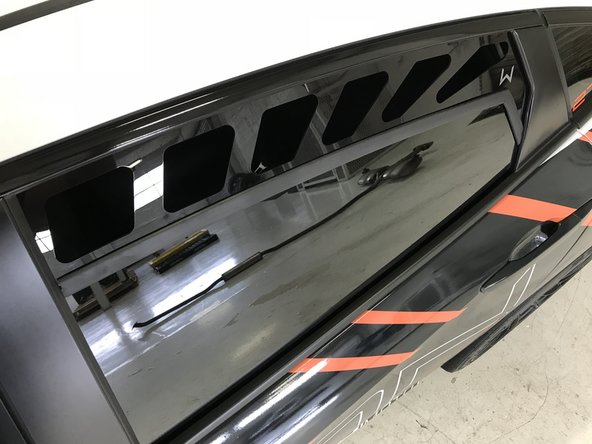
The "W" logo is located on the exterior side of each LH and RH window vent as shown
-
From the viewpoint of sitting in the driver's seat = Left Hand (LH or Driver's Side) window vent
-
From the viewpoint of sitting in the driver's seat = Right Hand (RH or Passenger's Side) window vent
-
-
-
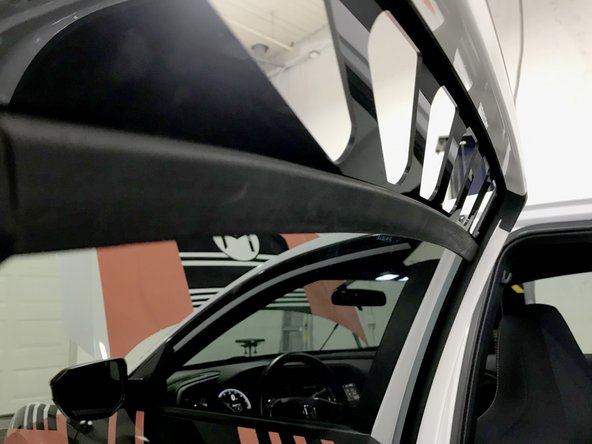
Each window vent comes installed with a pre-cut rubber molding. The rubber molding is a custom designed H-channel to attach the window vent and the window
-
The rubber molding has an interior surface and exterior surface. Because of this, the rubber molding for each LH and RH window vent must be used on the correct window vent
-
Exterior Surface: The surface is shorter
-
Interior Surface: The surface is taller
-
If the rubber molding becomes dislodged from the window vent then reinstall onto the window vent as shown
-
-
-
In these instructions we will be showing the installation process on the LH side rear window. Installation on RH rear window is similar
-
Start the vehicle or put the ignition to "accessory" mode by pressing the ignition button twice without your foot on the brake or clutch
-
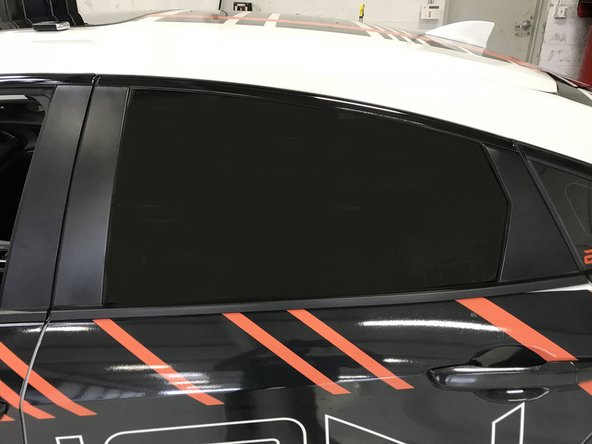
Open the rear door as shown
-
Lower the window as shown
-
The window is not fully lowered - it just needs to be lowered enough to install the window vent
-
-
-
It does not matter which end of the window vent is installed into the window seal first
-
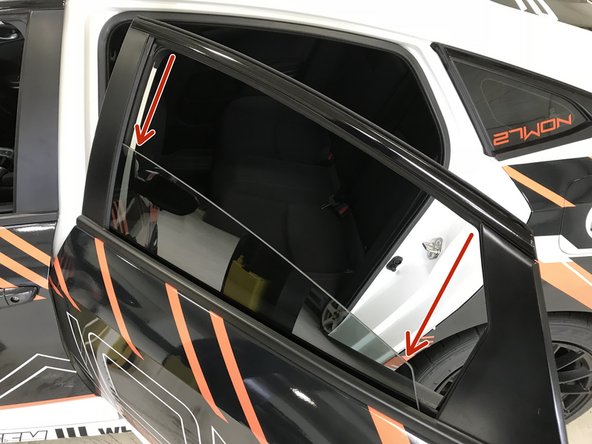
Place the right side of the window vent into the window seal as shown
-
Flex/bend the window vent slightly then place the left of the window vent into the window seal as shown
-
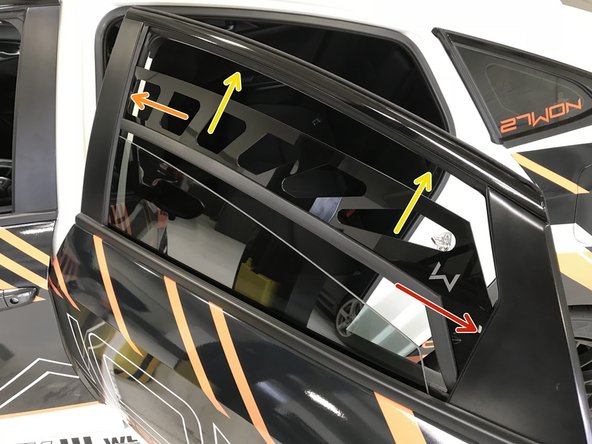
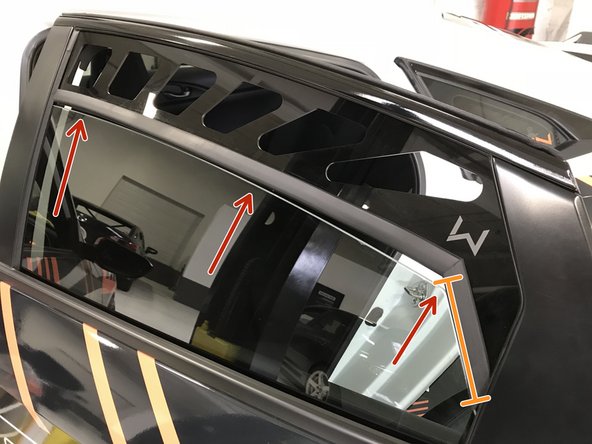
Slide the window vent up as far as it will go to seat the window vent into the upper window seal as shown
-
-
-
In the following step proceed slowly, you do not want to damage the window vent by closing the window too quickly
-
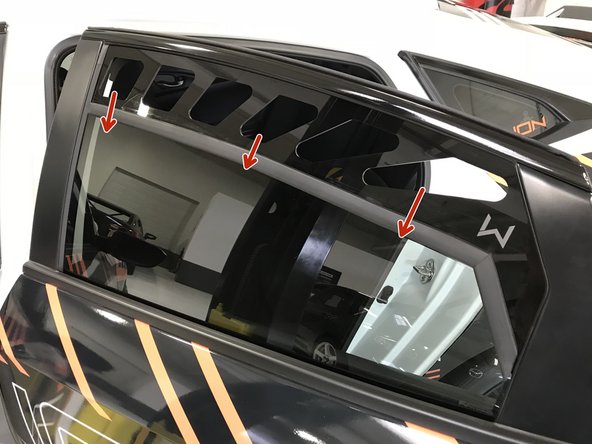
Raise the window up to the bottom edge of the rubber molding as shown. ~1/4" gap is good
-
The downward section of the window vent will be the first section for the window to enter the rubber molding
-
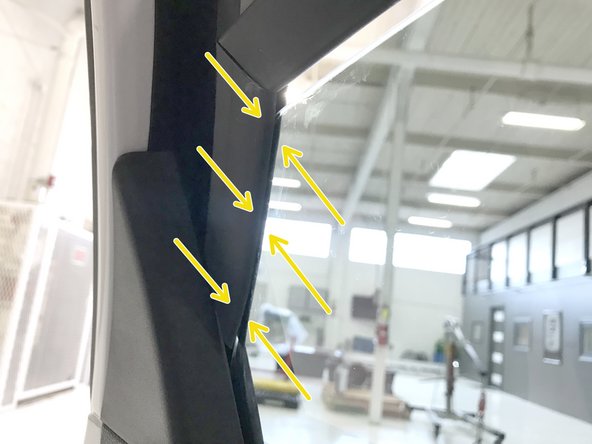
From the inside of the vehicle, align the rubber molding to fit over the window edge slightly
-
You may need to lower and raise the window a few times to get the alignment correct
-
-
-
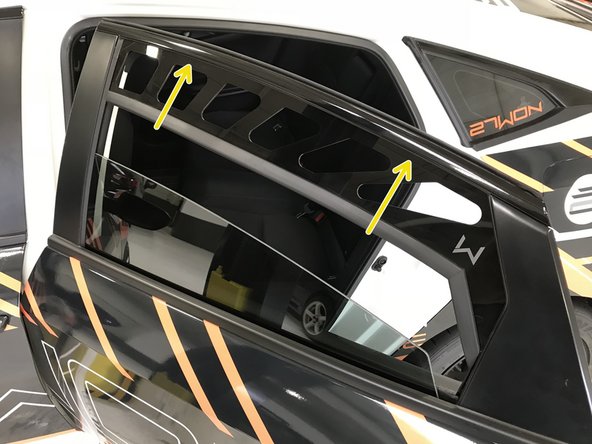
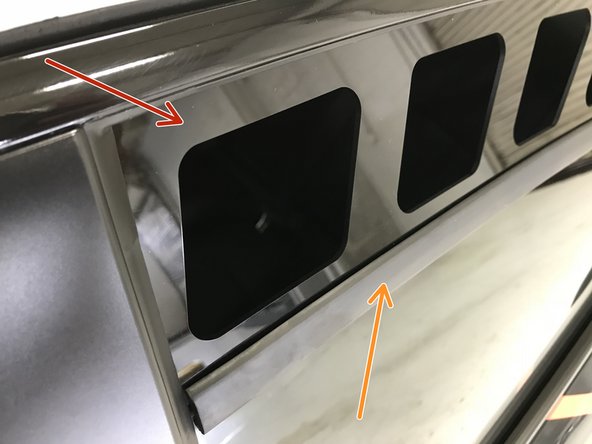
Without moving the window, place your fingers in the vents as shown and push the rubber molding & window vent down slightly to align and fit over the window edge
-
There should not be a gap between the rubber molding and the window edge
-
The rubber molding should now be fitted over the window vent and the window edge - this ensures that when you full raise the window both the vent and window glass are aligned in the rubber molding
-
You may need to manipulate the rubber molding a bit to fit it over the window
-
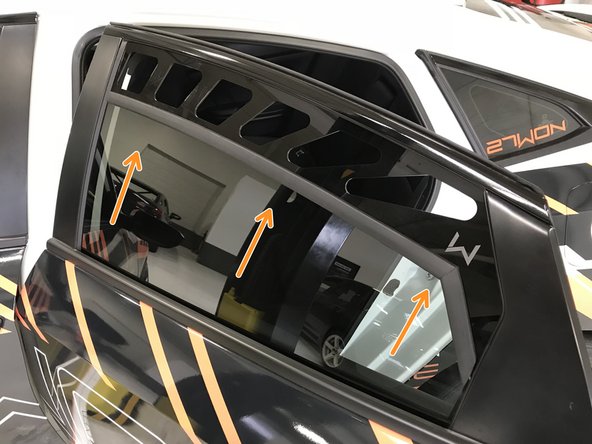
Raise the window until snug
-
-
-
Verify the rubber molding is not pinched or deformed on the interior or exterior of the vehicle
-
The window vent should fit snug and have minimal deflection in/out when pushed against and should not slide forward and back
-
-
-
We want you to get the most out of your 27WON Window Vents! Follow these cleaning instructions for best results
-
Use a clean and new micro fiber towel and streak free glass cleaner for cleaning the window vent
-
Use a clean non-abrasive rag and a very small amount of brake cleaner on the rag to clean the rubber molding
-
Do not spray brake cleaner directly on the window vent or rubber molding.
-
Only apply a very small amount of brake cleaner to the rag to wipe the rubber molding
-
-
-
Usage and Precautions: Failure to use the window vent as designed and intended may result in the loss, damage, or injury of the window vent, vehicle and/or passengers
-
Do not use window vent without rubber molding
-
Do not use window vent without the window fully raised and restraining the window vent and rubber molding
-
Window vent usage is intended at a closed course track or static show events. Usage of the window vent on public streets is under the vehicle owner's/driver's discretion and risk
-
It is not recommended to leave the window vents installed if the vehicle needs to be locked and secured. Window vents can be forcibly removed by hand and therefore can compromise the security of a locked vehicle
-
27WON Performance LLC is not responsible for lost or damaged goods due to vehicle break-in with the window vents installed
-
-
-
This completes the installation of your 27WON Performance Rear Window Vent
-
We hope you were impressed with your 27WON experience and love your new Window Vents for years to come. Email us at sales@27won.com or call us at 571-271-0271 with any questions or concerns
-
Please Leave a Review Here: https://store.27won.com/honda-civic-wind...
-
Share your experience using #27WON on Instagram and Facebook
-