-
-
Poly can be removed and reinstalled in various ways. These instructions show it done with the tools we found to be the easiest
-
The Rear Motor Mount (RMM) will need to be removed from the car for this process. See our RMM install instructions for that
-
-
-
-
-
-
These options are presented in order from most preferred to least
-
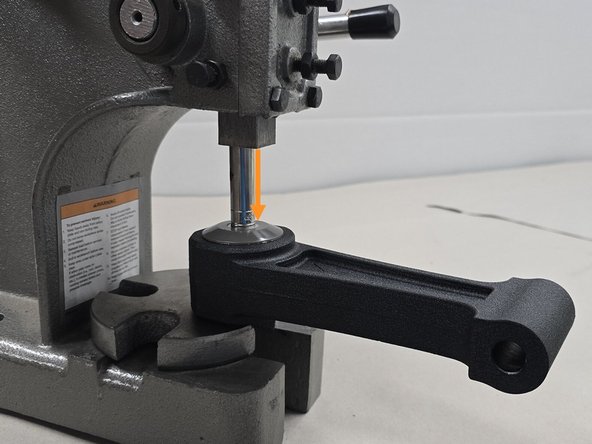
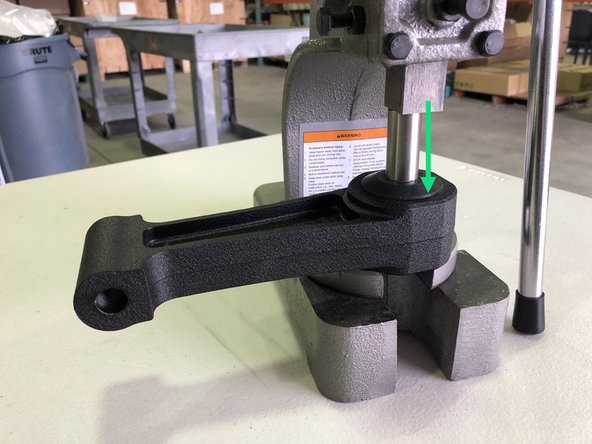
Option 1: Place a 7/16” deep socket over the steel insert and use an arbor press to press the old steel insert out
-
This can also be done using a vice
-
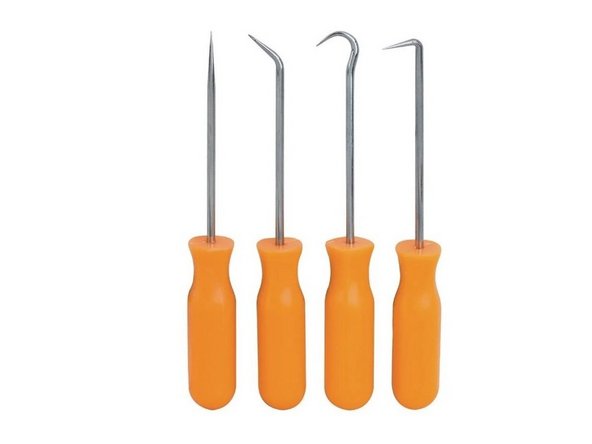
Option 2: Use various tools
-
Use one hand to hold the RMM and a 7/16" deep socket as shown
-
Use a hammer or dead blow to tap the socket until the sleeve is all the way out
-
-
-
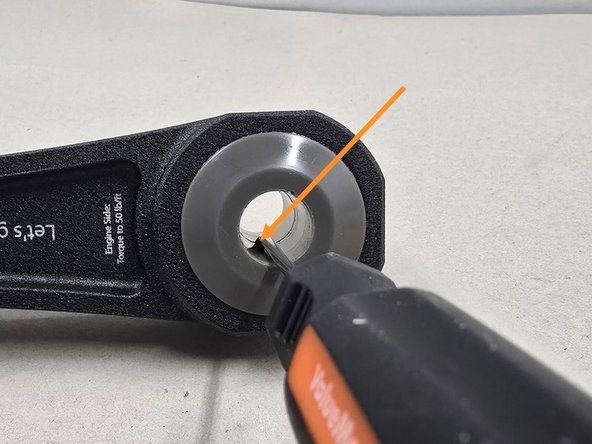
Take a 90-degree pick and insert it in the seam between the 2 poly pucks then push 1 poly puck out of the mount
-
With a flat head screwdriver, press the other piece of poly out
-
-
-
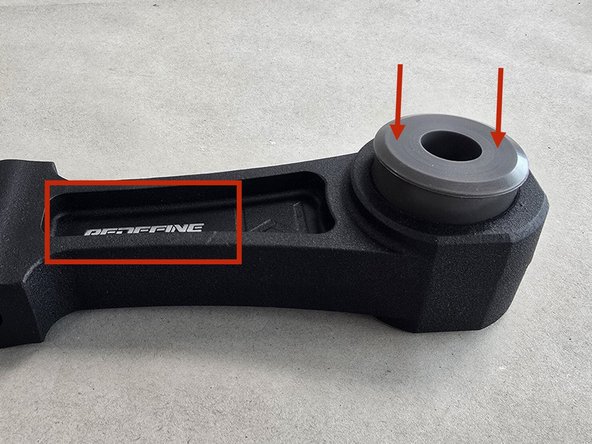
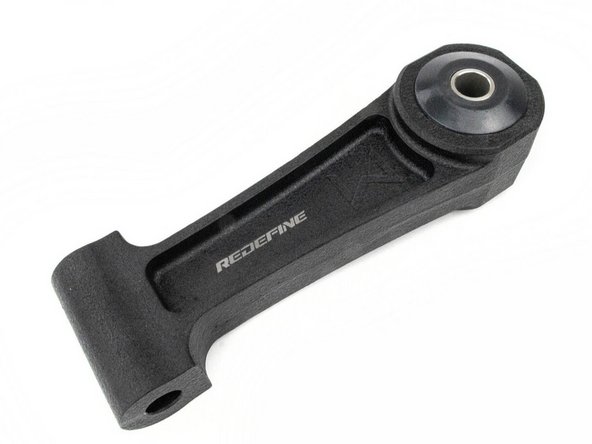
Insert the Flat poly bushing into the "Redefine" side of the RMM as shown
-
Some poly kits come with a metal washer. If this is the case then one piece of poly has a flat section the other does not. If your poly kits doesn't have a washer then both poly are the same
-
70 durometer (grey or blue) poly can be inserted by hand or with a press or vice
-
70 durometer poly comes in blue or grey. Black poly is 90 durometer
-
Flip the RMM over and insert the remaining poly into the other side as shown
-
Press the RMM down hard on a surface on each side until both pieces of poly sit flush in the mount
-
-
-
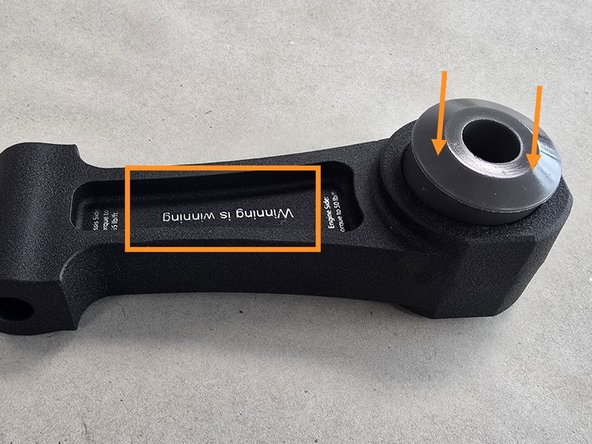
The stainless steel sleeve inserts into the RMM body in the orientation shown
-
Orient the RMM with the 'Winning is Winning" side up as shown
-
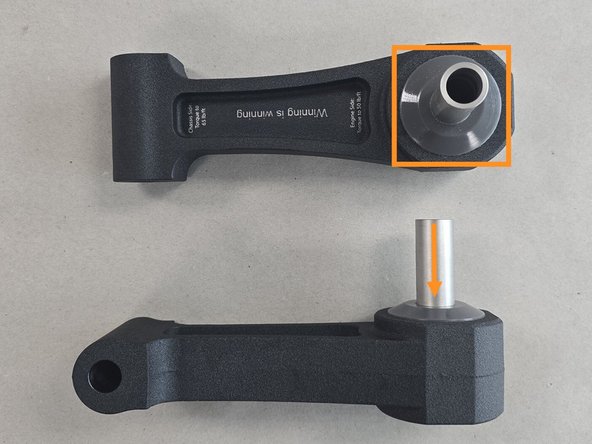
By hand insert the steel sleeve into the poly bushing as shown
-
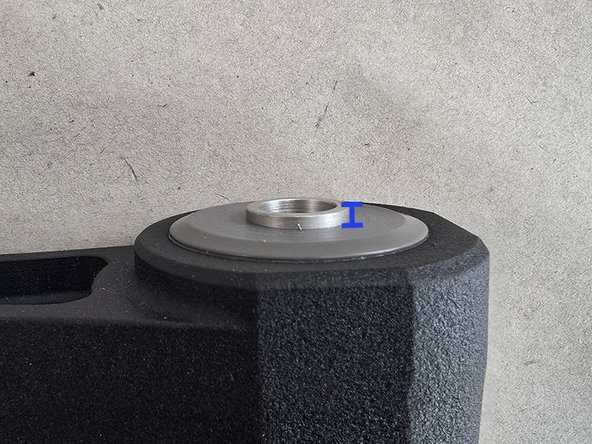
Using an arbor press or a rubber hammer insert the steel sleeve until it is flush with the poly
-
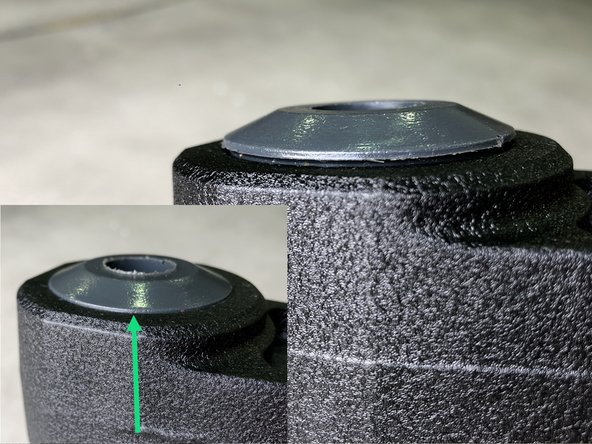
The steel sleeve should stick out of the flat poly on the other side by about 3mm or 1/8in
-
For poly service kits without washer, the sleeve will be about flush on both poly inserts
-
-
-
You've completed installation of new RMM hardware. Reinstall the mount in the car using our installation instructions for that
-
Call us at 571-271-0271 with any questions about this process
-