Introduction
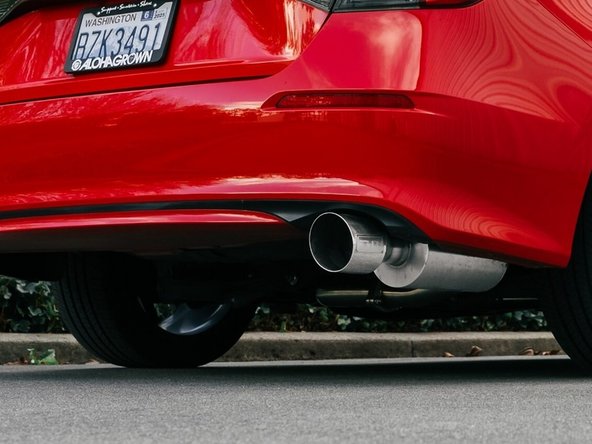
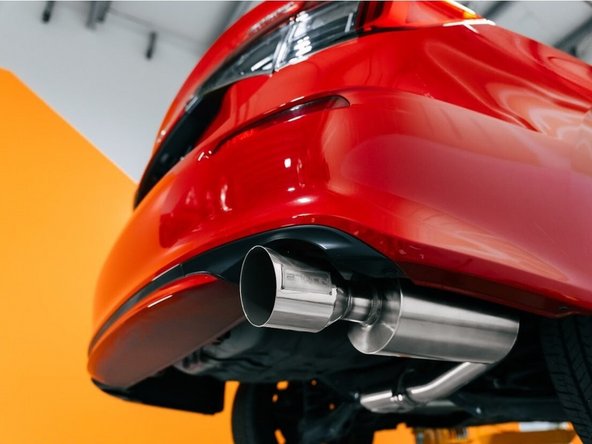
In this installation guide we have provided step by step instructions to remove the OEM exhaust and install the 27WON Performance Exhaust.
Advisory:
- Working under the vehicle requires a safe and sturdy location for the vehicle to sit on jackstands.
- The exhaust piping will be hot after recent vehicle operation. Allow the vehicle to cool or use a fan to cool the exhaust piping before working on the vehicle.
Tools
- 3/8" Ratchet
- 10mm Socket - Deep
- 12mm Socket - Deep
- 14mm Socket - Deep
- 15mm Socket-Deep
- 17mm Socket - Deep
- 17mm Wrench
- 3/8" Torque Wrench
- Flathead Screwdriver
- Phillips Screwdriver
- Tongue and Groove Adjustable Pliers
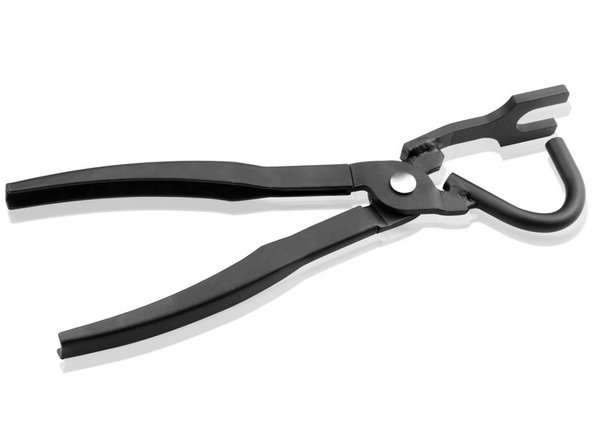
- Optional: Exhaust Pliers
- Bungee Cord
- Hydraulic Jack
- Jack Stand × 4
- Cleaner Spray or Equivalent Lubricant
- Pry tool
-
-
First and foremost; THANK YOU for becoming a part of the 27WON Family. We hope to REDEFINE your experience of the aftermarket with the highest level Parts, Customer Service, Packaging, & Support
-
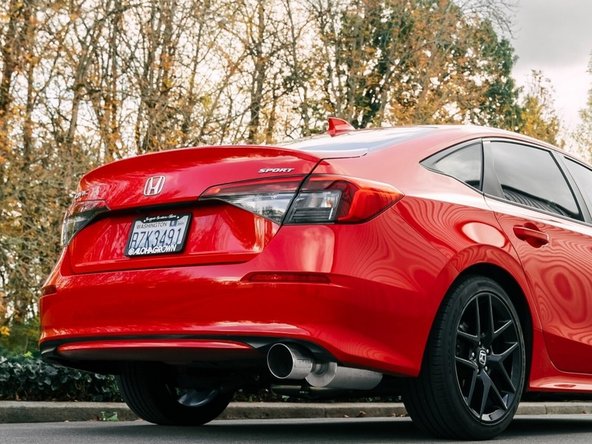
These instructions were written with a 2022 Civic Sport Sedan
-
-
-
Jack up your 11th Generation Civic and place your jack stands in the appropriate mounting spots
-
You can find this in your owners manual
-
Make sure you have supported your car properly. If done improperly, this could lead to serious injury
-
-
-
The following instructions are shown with no bubble wrap or cardboard for clarity of the installation process
-
We recommend leaving as much protective bubble wrap/cardboard on the exhaust as possible during install to protect against scratches and dings during the process
-
Cut holes in the bubble wrap to expose the flanges, hanger rods, and fastening locations
-
-
-
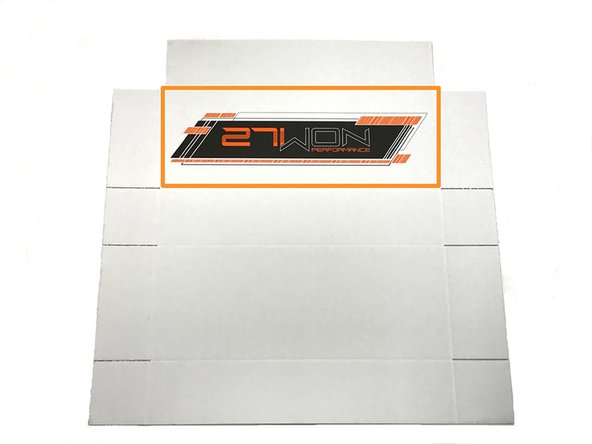
The 27WON packaging is not only designed to get your performance parts to your doorstep safely, but to also provide you with an awesome garage banner and/or comfy cardboard mat to lay on under your car for installation
-
You can cut out the banner as shown with the orange square
-
Or you can use the entire unfolded box as a mat to lay under your vehicle
-
Remove the staples from the box as they don't feel great on your backside...
-
-
-
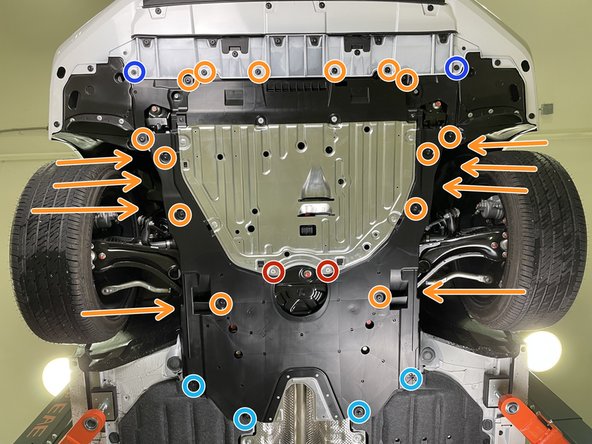
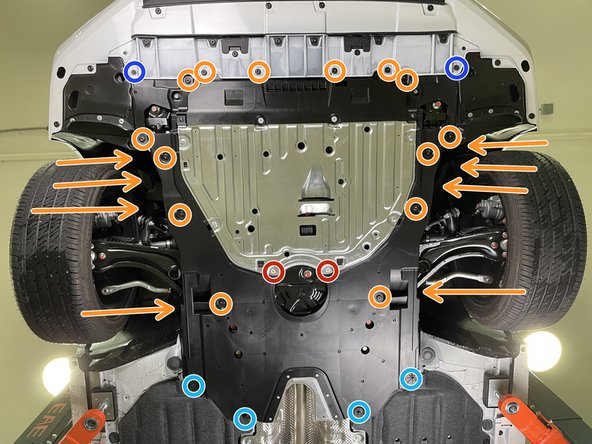
Locate the Skidtray
-
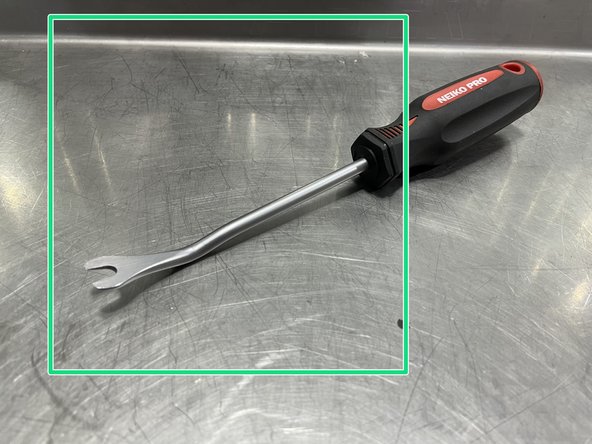
We recommend using a prying tool like the one shown by the green square
-
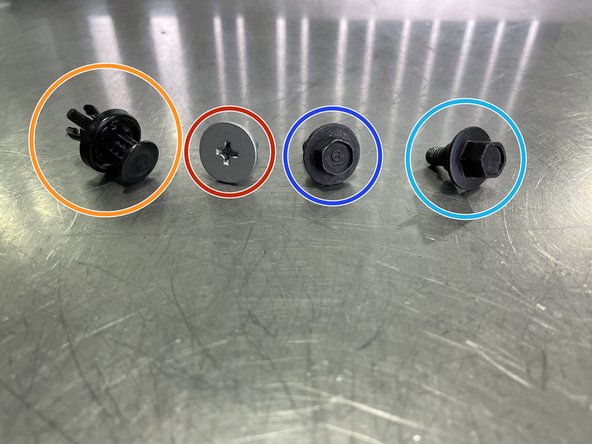
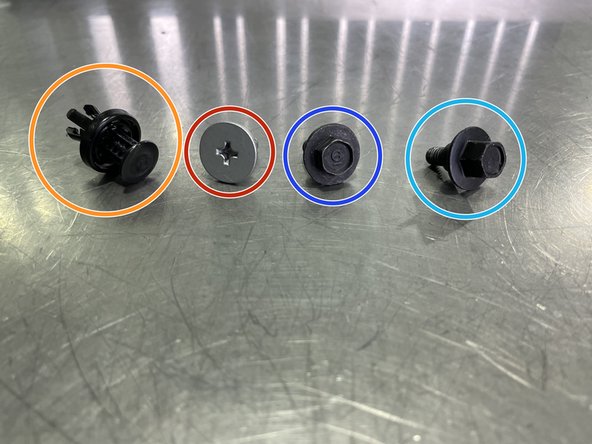
Use a flathead screwdriver or a prying tool to remove the fourteen (14) plastic push-clips circled in orange. Orange arrows identify the eight (8) additional push-clips described in the next step that are removed last
-
Use a #2 Philips head screw driver to remove the two (2) Philips pan head screws shown in red circles
-
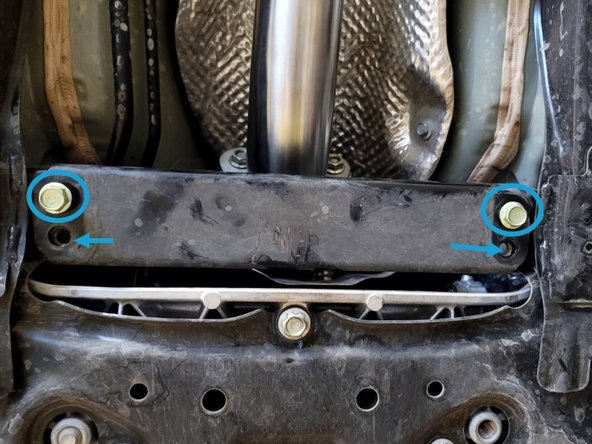
Use a 10mm socket & ratchet to remove the two (2) short head shoulder bolts shown in dark blue circles
-
Use a 10mm socket & ratchet to remove the four (4) tall head shoulder bolts shown in light blue circles
-
-
-
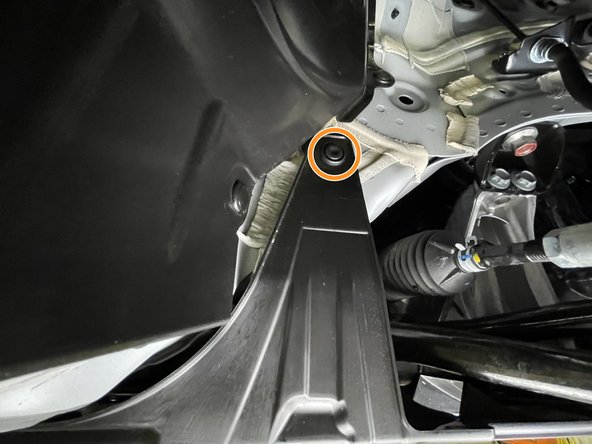
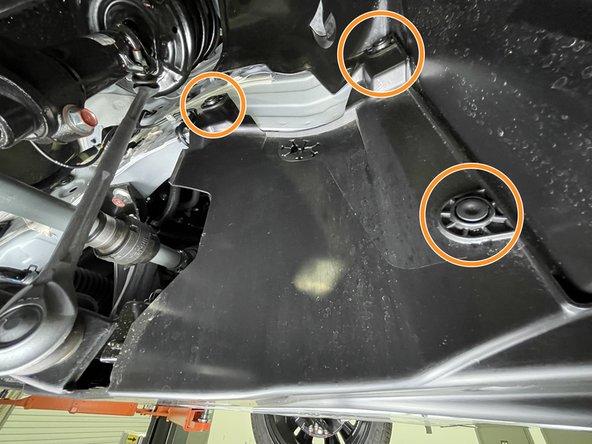
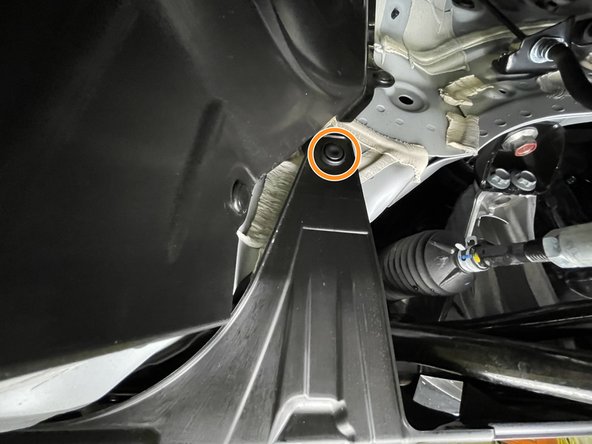
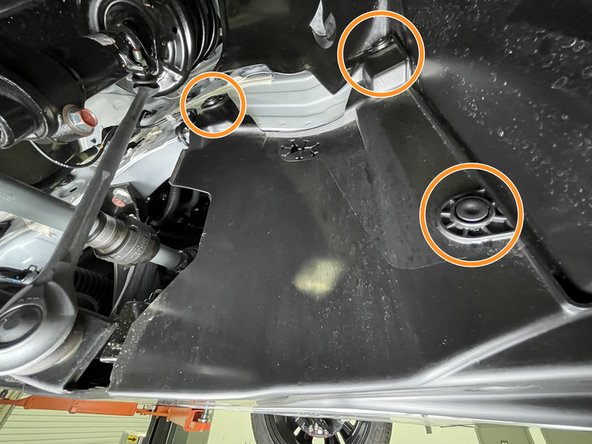
Use a large flat head screw driver or prying tool to remove the four (4) push-clips from each front wheel well
-
-
-
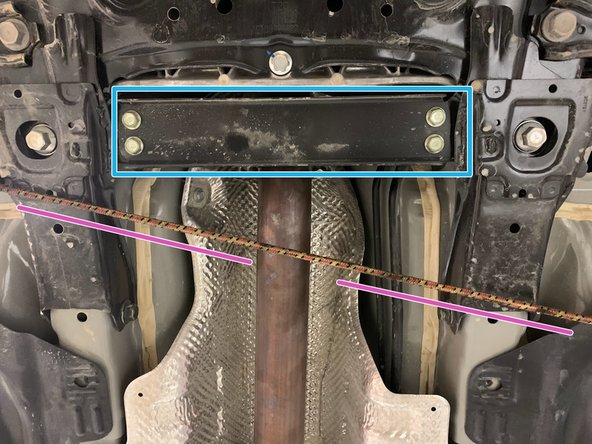
Remove (4) 14mm bolts shown then the bracket for easier access to the front pipe flange
-
Support where the exhaust meets the front pipe with a bungee cord
-
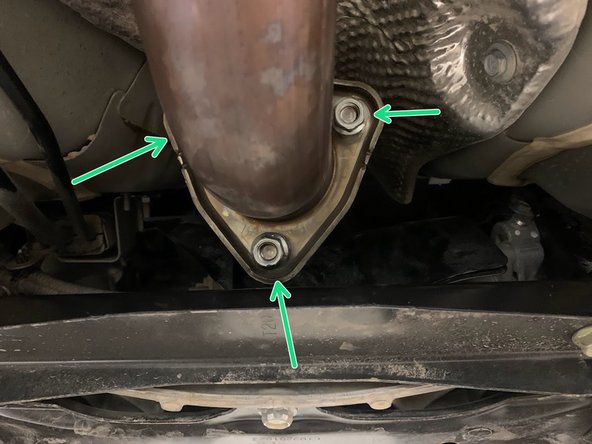
Using a 14mm socket, remove the (3) bolts shown
-
-
-
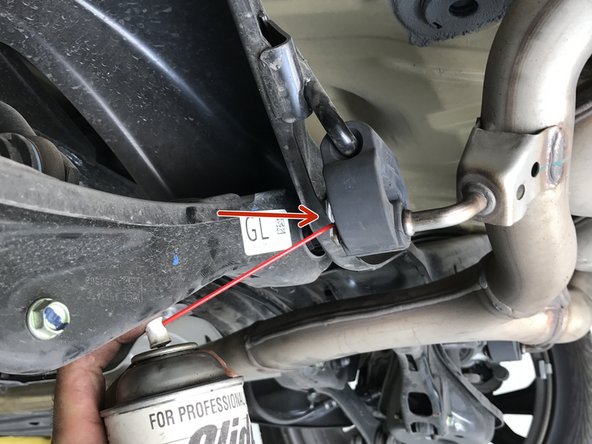
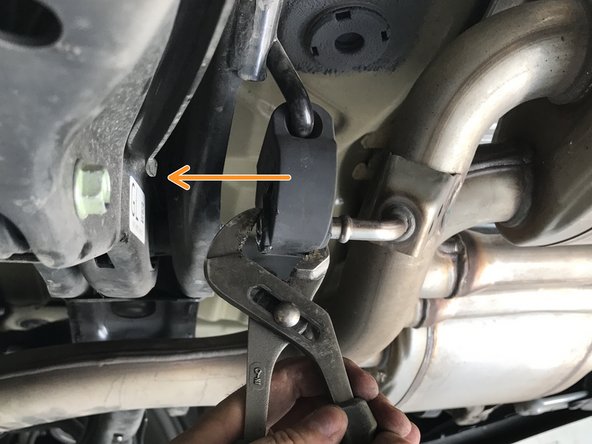
We'll show each hanger in the next steps. Hangers can be very difficult to get off. Here are a few ways to approach this
-
Spray hanger as shown with lubricant. We like glass cleaner
-
Using your Tongue & Groove Pliers, pry the rubber bushing from the metal hanger
-
Or, the easiest way is to use exhaust pliers. You can get these on Amazon for around $20
-
-
-
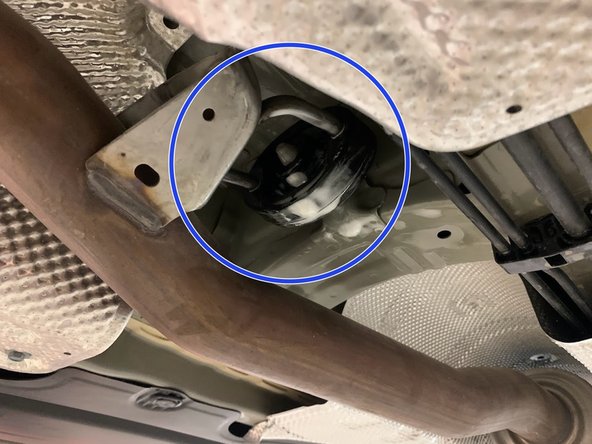
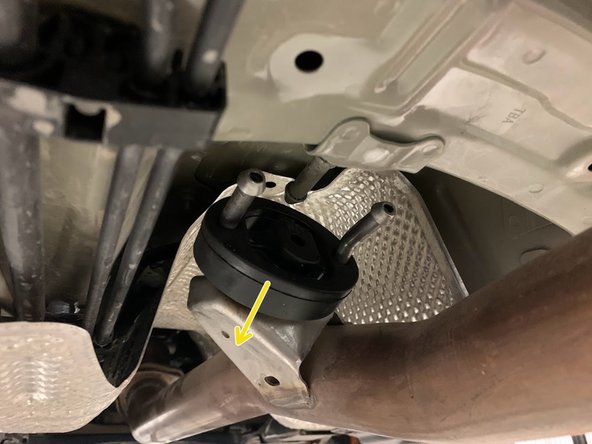
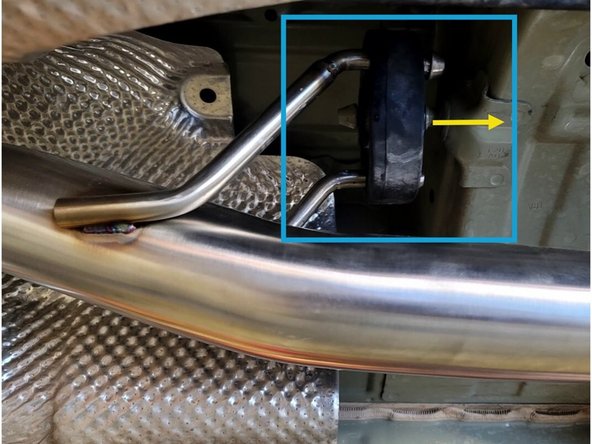
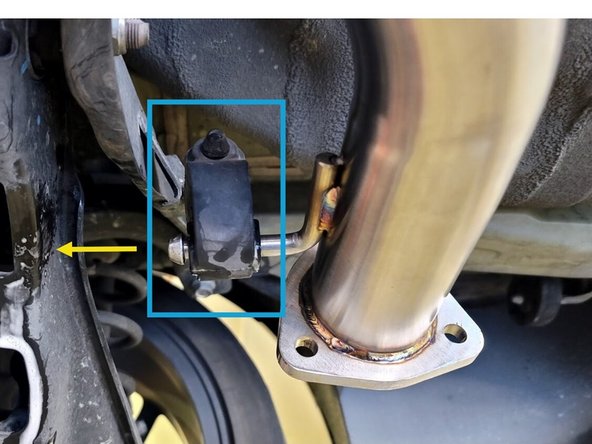
Using a spray cleaner, lubricate the front hangers and rubber support
-
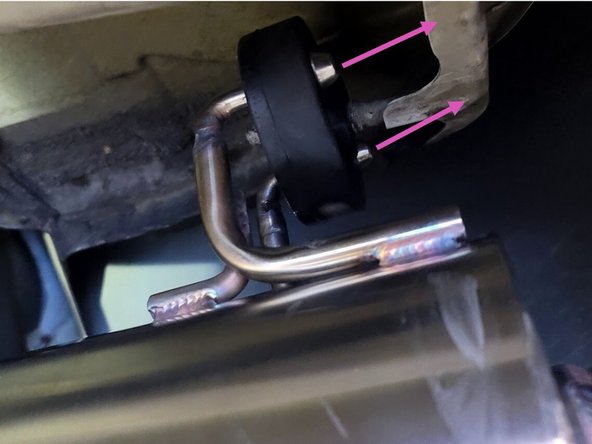
Use tongue & groove pliers to press the rod out of the rubber hanger. Remove the hangers of the exhaust from the rubber supports as shown
-
-
-
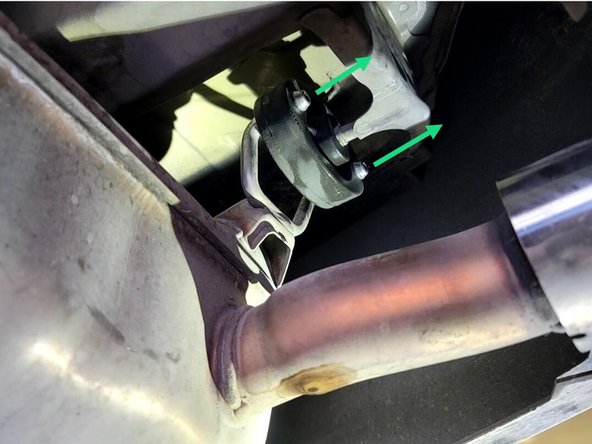
Using a spray cleaner, lubricate the rear hangers and rubber supports
-
Use tongue & groove pliers to press the rods out of the rubber hanger, then remove the hanger off the exhaust from the support as shown
-
-
-
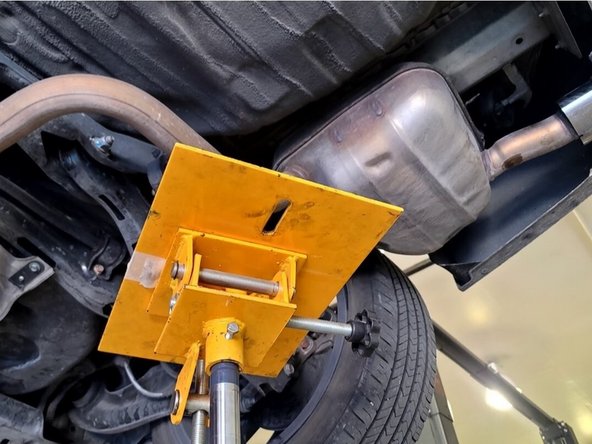
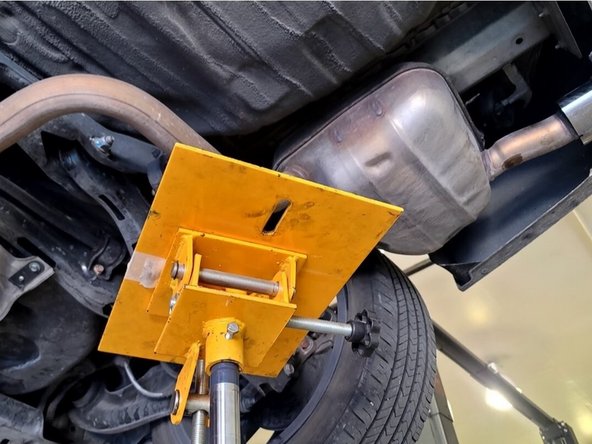
Using a transmission jack, floor jack, or a friend support the OE exhaust as shown
-
-
-
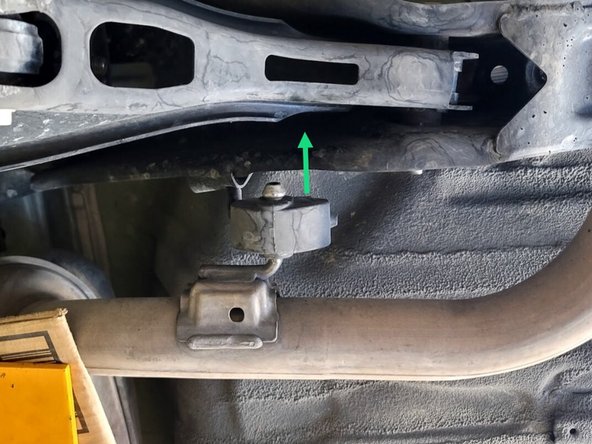
Using a spray cleaner, lubricate the remaining rear hanger and rubber support
-
Use tongue & groove pliers to press the rod out of the rubber hanger then remove the hanger off the exhaust from the rubber supports as shown
-
If the exhaust is unsupported, it will fall and possibly become damaged. If not done yet, make sure you support the OE exhaust
-
-
-
With the exhaust unbolted and removed from the hanger supports, remove from the car and set aside
-
-
-
Using a spray cleaner, lubricate the front hanger and rubber support as shown
-
Use tongue & groove pliers to press the rod out of the rubber hanger, remove the rubber support off the OE exhaust hangers
-
Reinstall the rubber support on the 27WON forward mid-pipe hangers
-
-
-
This step could be done on the car. For reference, it is shown off the car here
-
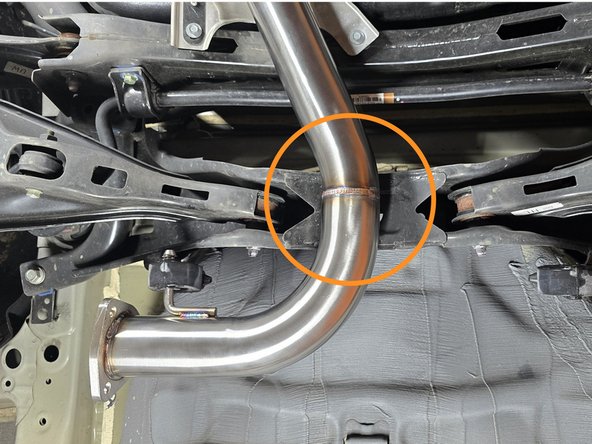
Align the two mid-pipes as shown. Their orientation is critical for proper exhaust fitment
-
Use the hangers for reference
-
-
-
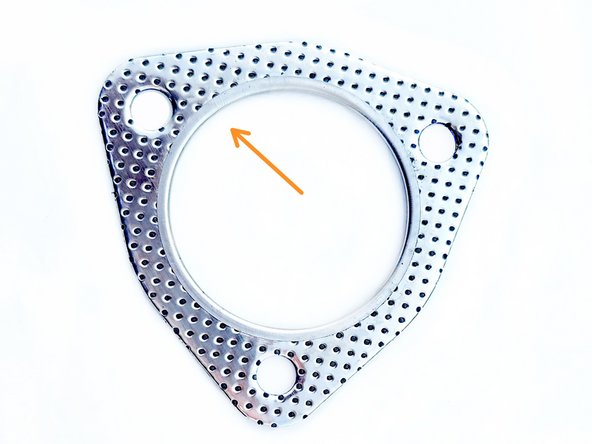
Insert a provided "tri-bolt"gasket between the two flanges of the mid-pipes
-
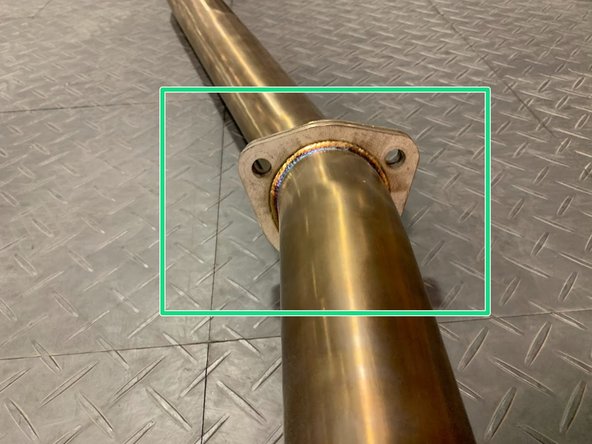
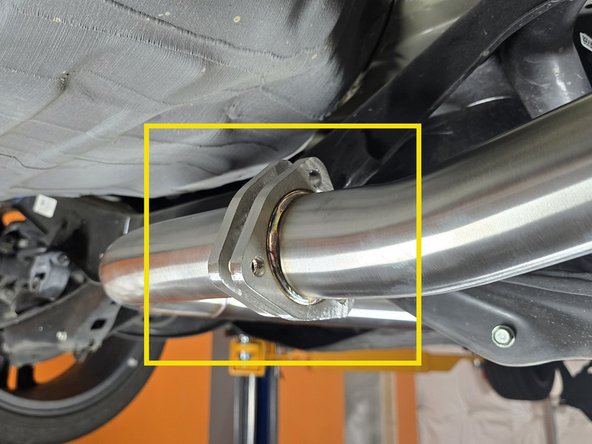
Align the flanges as shown
-
Perfect alignment of the flanges here is critical. Even 1mm of misalignment can cause a big fitment issue at the rear of the car
-
-
-
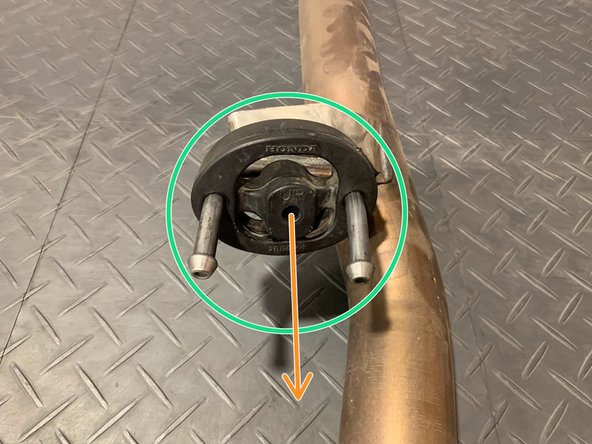
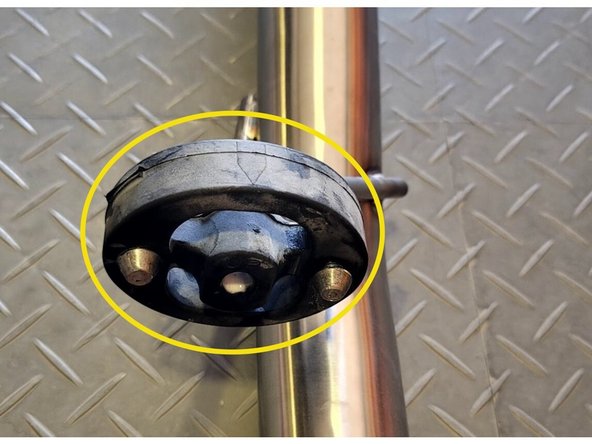
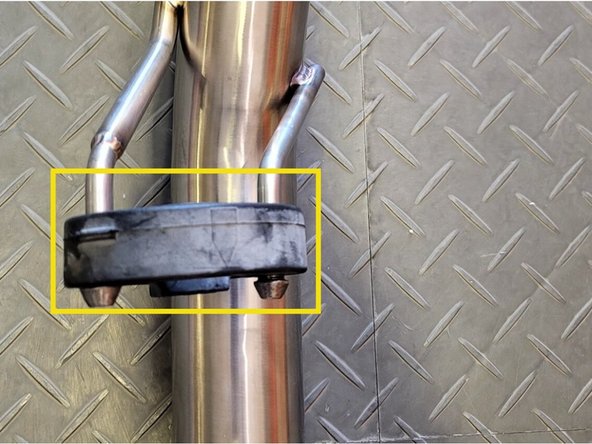
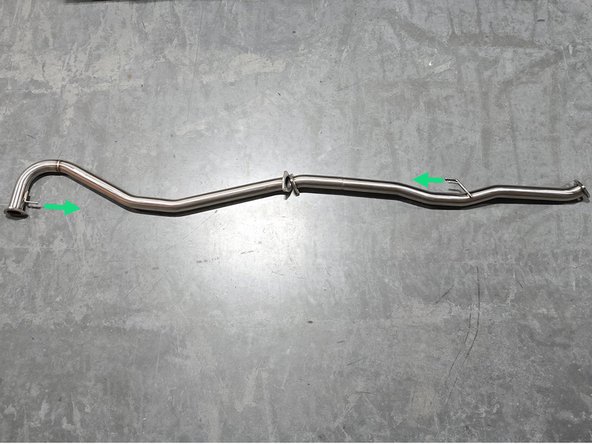
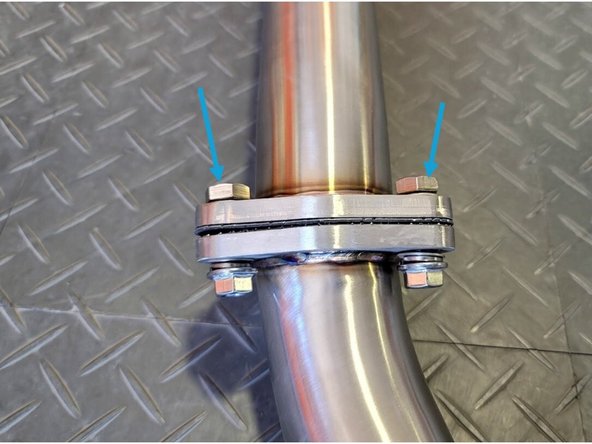
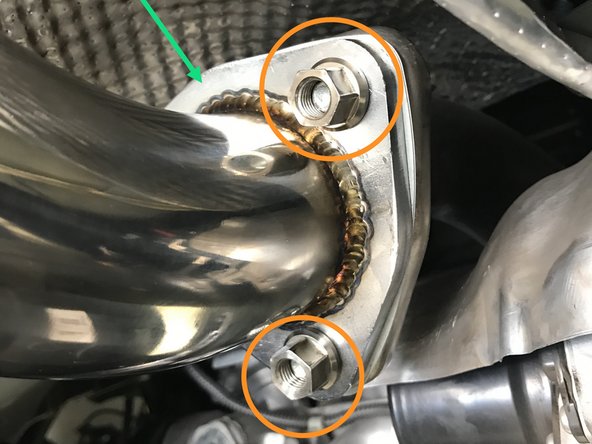
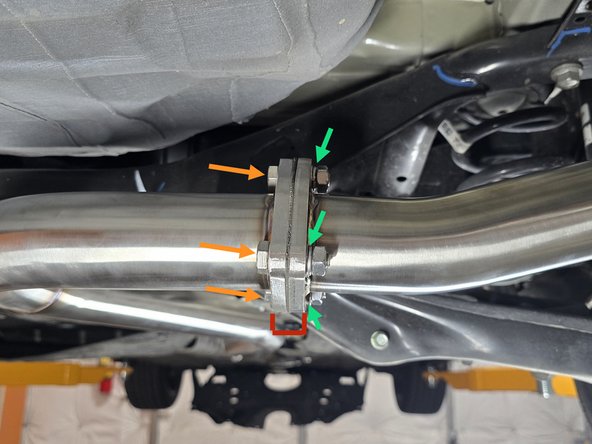
Make sure the exhaust flanges go where the green arrow is indicating when installing your hardware in all flanges in your 27WON exhaust system
-
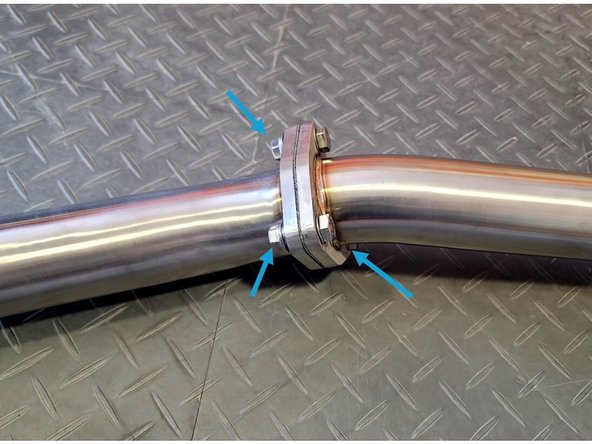
Install 3 sets of hardware as shown using a 17mm socket and 17mm wrench. Hand tighten the hardware for now
-
-
-
Using the same location as before, support the back of your 27WON exhaust with a friend or jack
-
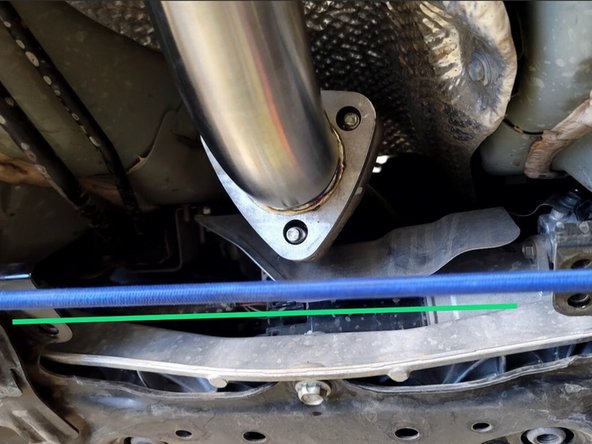
Place forward mid-pipe on front pipe studs as shown. Support the front section with a bungee cord in case it slips off
-
-
-
Using a spray cleaner, lubricate the rubber hanger
-
Reinsert the front hanger to the chassis hanger as shown
-
-
-
Using a spray cleaner, lubricate the hanger support
-
Reconnect the rubber hanger to the exhaust hanger
-
Remove Bungee Cord near front pipe
-
-
-
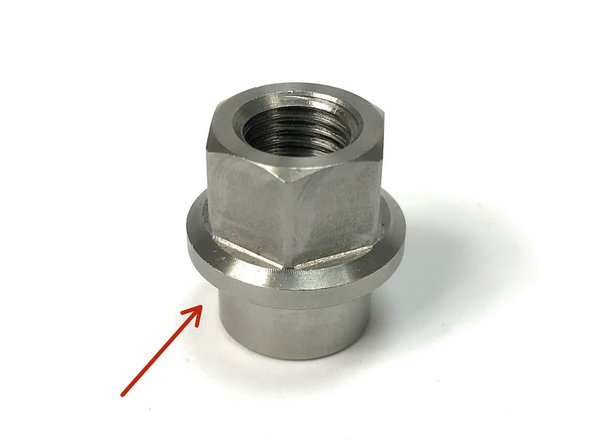
Locate QTY=3 provided step nuts
-
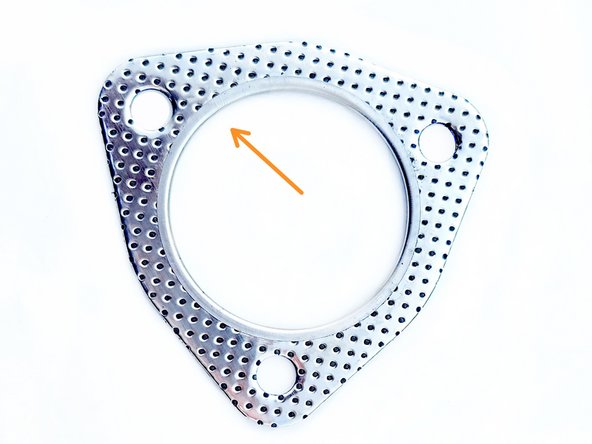
Locate QTY=1 provided tri-bolt gaskets
-
Locate QTY=3 provided 35mm length M10 bolts
-
-
-
Perfect alignment of the flanges is critical. Even 1mm of misalignment can cause a big fitment issue at the rear of the car
-
Install the provided "tri-bolt" gasket onto the OE front-pipe
-
Align the studs through the flange then hand tighten the step nuts
-
Reinstall (4) bolts as shown to secure bracket
-
-
-
Use caution not to damage exhaust tip
-
Using a spray cleaner, lubricate the hanger support for the muffler section
-
Reconnect the rubber hanger to the exhaust hanger as shown
-
It's ok to allow the muffler section to hang on the rubber support while you get the hardware for the flange
-
-
-
In one go, insert a provided "tri-bolt" gasket between the rear mid-pipe flange and the muffler flange then insert a bolt and washer to hold the sections together
-
Perfect alignment of the flanges is critical. Even 1mm of misalignment can cause a big fitment issue at the rear of the car
-
Align the gasket and flanges properly and insert the other two (2) bolts
-
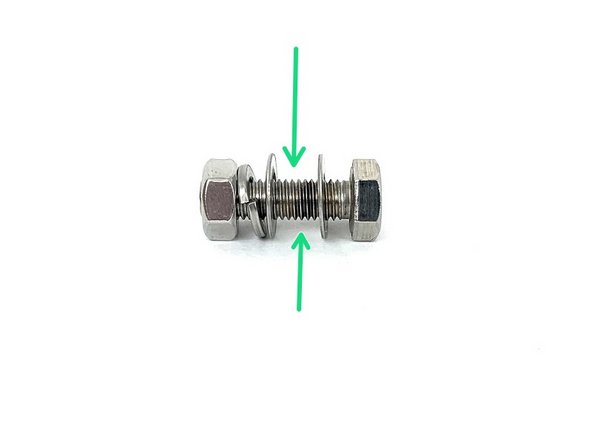
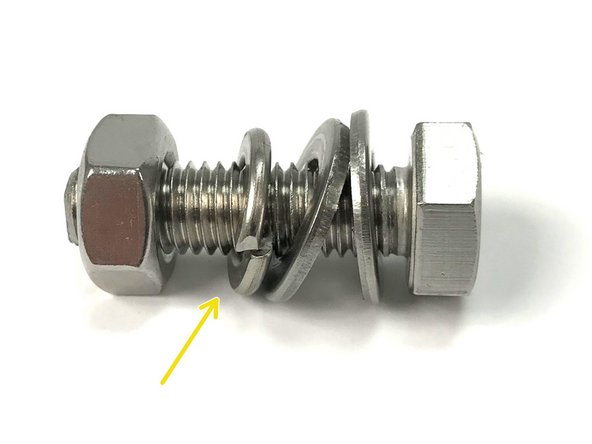
Using the same hardware stack up as before, install the washer, split washer, and nut for each bolt
-
Hand tighten the (3) nuts
-
-
-
Stand back several feet from the car and inspect the exhaust
-
If the tip is sitting high, there may be a rubber hanger that is upside-down. Verify that all hangers are oriented correctly
-
If the tip is not centered, starting from the rear section, loosen the flange bolts and nut hardware moving down the system and re-align the flanges as needed
-
It can be tricky to get all the flanges just so. A very small fitment difference at the front pipe can make a big difference to how the mufflers hang
-
Once tips are centered, torque down all hardware to 25~30 ft lbs
-
Check again that exhaust tip is positioned properly
-
-
-
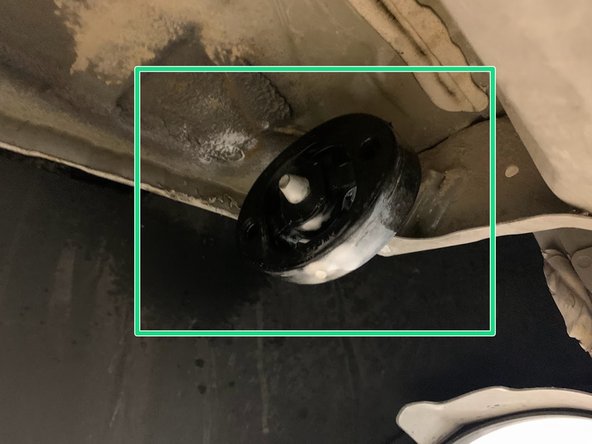
Reinsert the (4) push pins into the mounting spots as shown
-
Repeat this step on the other side
-
-
-
Reinstall the fourteen (14) plastic push-clips circled in orange
-
Using a Philips head screw driver, reinstall the two (2) Philips pan head screws shown in red circles
-
Using a 10mm socket and ratchet, reinstall the two (2) short head shoulder bolts shown in dark blue circles
-
Using a 10mm socket & ratchet reinstall the four (4) tall head shoulder bolts shown in light blue circles
-
-
-
Start the vehicle to check for leaks or rattles. If none, then take a spin around the block for further verification. If you do find a leak or rattle, please inspect the exhaust further
-
A leak could be caused by a loose flange bolt, improperly used gasket, or if debris is stuck between the gasket and flange
-
A rattle could be caused by misaligned pipe or a rubber hanger being orientated incorrectly
-
If you have "exhausted" all options, then give us a call and we would be happy to help resolve any issues
-
-
-
Exhaust may smoke for the first 30 minutes or so of use. This is normal
-
Exhaust sound will settle a bit during the first 100 miles of use. This is normal
-
Your Honda has a cold start system which causes louder exhaust for around 15 seconds when you first start your car
-
-
-
This completes the installation of your 27WON Performance Exhaust
-
We hope you were impressed with your 27WON experience and love your new exhaust system for years to come. Email us at sales@27won.com or call us at 571-271-0271 with any questions or concerns
-
Please leave a review here: https://store.27won.com/2022andnewer-hon...
-
Stay Connected with the latest developments with the 27WON Monthly Newsletter: https://store.27won.com/27won-newsletter...
-
See the latest Products and Tech Videos from 27WON with a quick Subscribe: https://www.youtube.com/27won
-
Share your experience using #27WON on Instagram and Facebook
-


