Introduction
In this installation guide, we have provided step-by-step instructions to install the left and right-hand side 27WON Performance Fender Shrouds.
Advisory:
- Fitment is only confirmed for USDM and the Left-hand drive version of the 2022+ Honda Civic. Fitment not confirmed for Right-hand drive models
-
-
First and foremost; THANK YOU for becoming a part of the 27WON Family. We hope to REDEFINE your experience of the aftermarket with the highest level Parts, Customer Service, Packaging, & Support
-
Install requires drilling a small hole in the driver side fender inside the engine bay
-
These do not fit 2023+ Integra
-
-
-
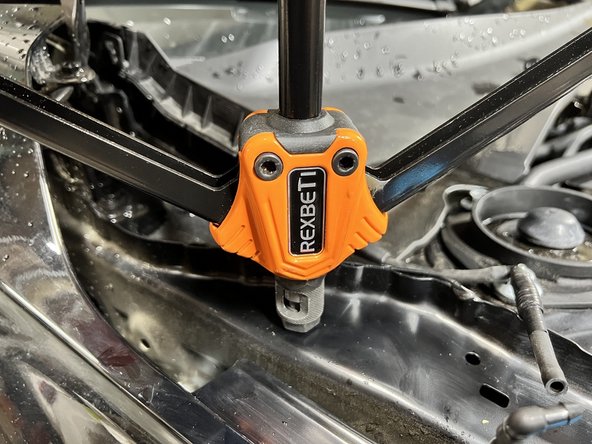
These instructions are written using a readily available riv rut install tool. The following steps require a tool like this. A similar style riv nut tool will suffice
-
This riv nut tool can be had for on around $40 from places like Amazon or your local hardware store. Be sure to have an M5 size adapter in your kit
-
Riv Nuts are supplied with the Fender Shroud set
-
-
-
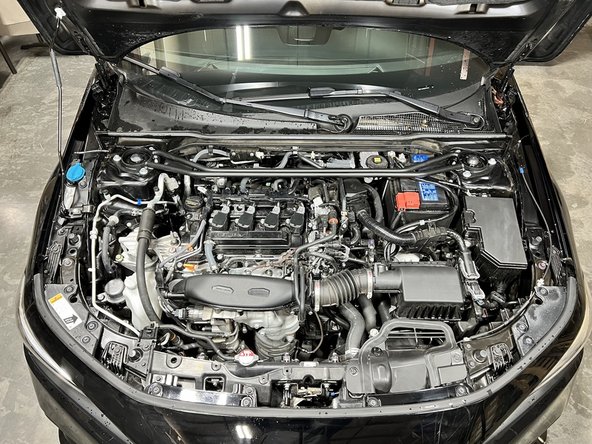
Open the hood to access both the driver and passenger side fender shroud areas
-
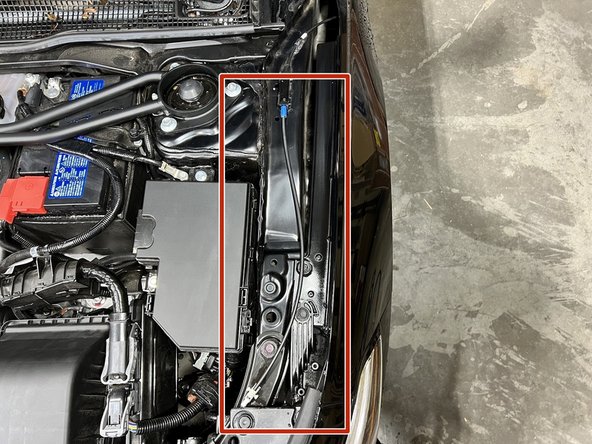
Start on the driver-side fender shroud first
-
-
-
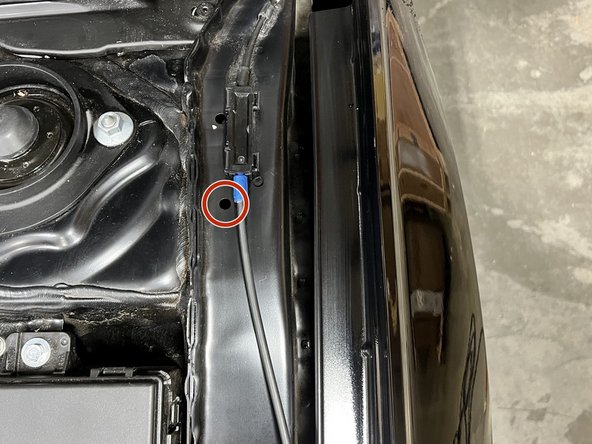
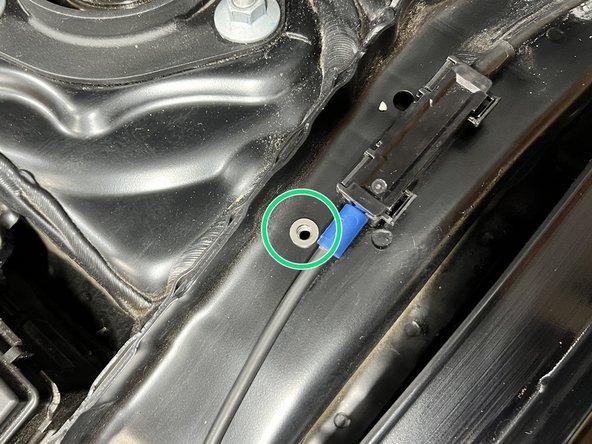
Locate existing small hole on driver-side fender as shown with red circle. Place supplied Riv Nut in hole with red circle
-
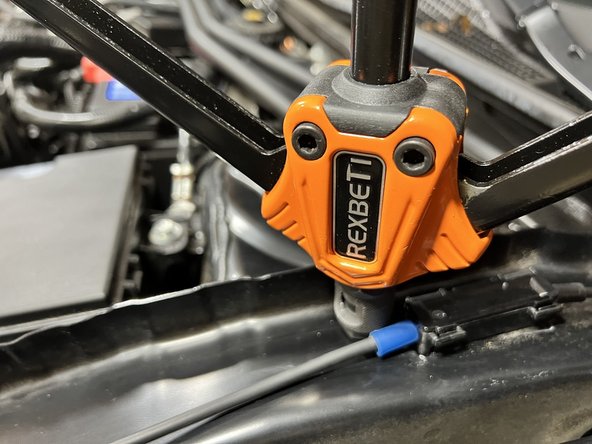
Use Riv Nut tool to install M5 Riv Nut
-
Riv Nut successfully installed. It is confirmed installed correctly when the riv nut is snug in place and will not pull back out from the hole
-
-
-
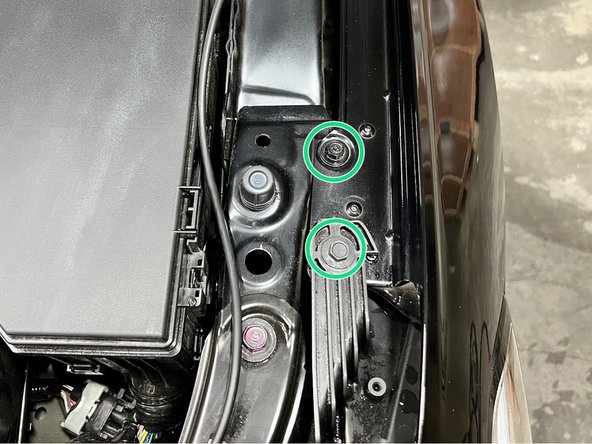
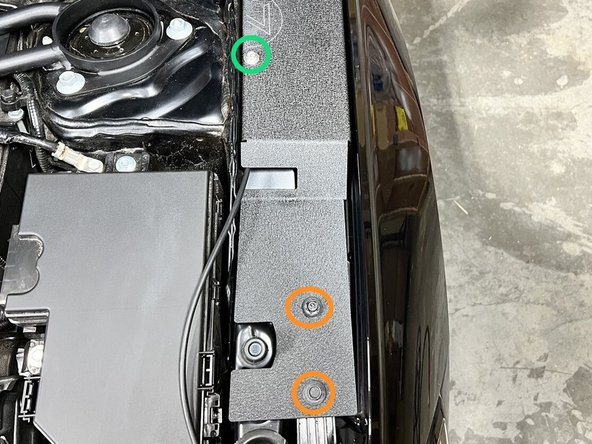
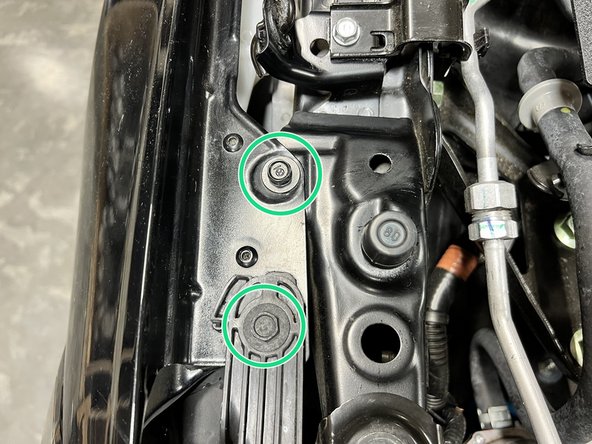
Use 3/8" ratchet and 10mm socket to remove the two (2) 10mm bolts
-
-
-
Place shroud into position. Make sure to line up the other three mounting holes. You can secure mount in place with finger tight hardware if you like
-
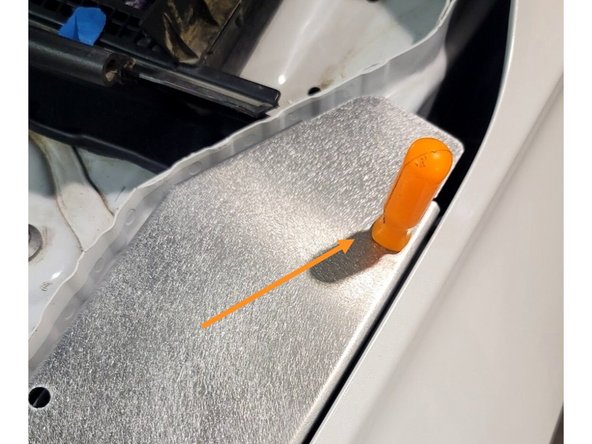
Use a punch, marker, or even a screw driver and mallet to mark a spot on the fender to add a hole
-
Remove shroud
-
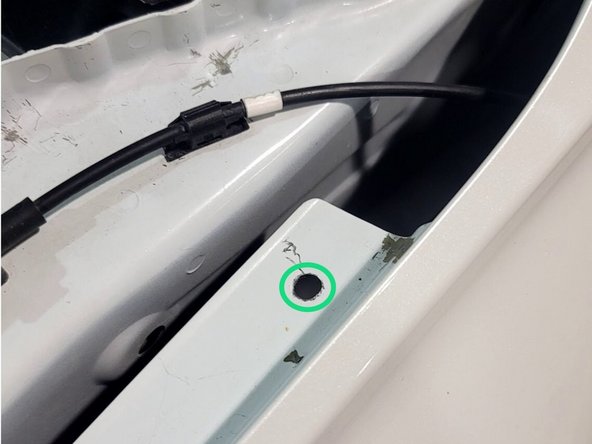
Using a drill and a 7mm or 9/32" bit, make a hole in the previously marked location
-
Use Riv Nut tool to install M5 Riv Nut
-
Riv Nut successfully installed. It is confirmed installed correctly when the riv nut is snug in place and will not pull back out from the hole
-
-
-
Place Shroud as Shown
-
Line up holes on bottom of shroud with the two bolts removed in the last step
-
"torque to snug" is defined as 1/4 to 1/2 more rotation after setting resistance is felt
-
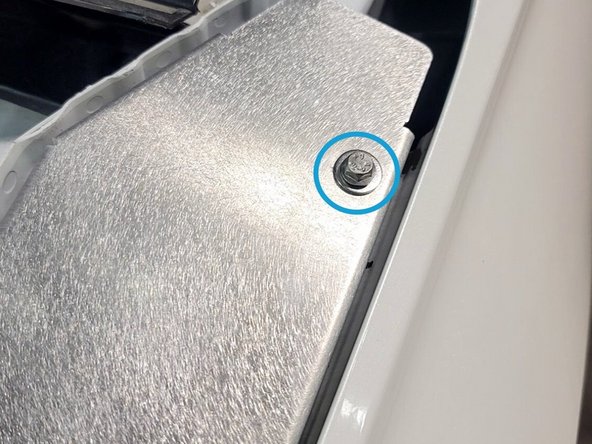
Install 30mm long SS bolt and small washer into Riv-Nut using a 8mm socket or wrench. Torque to snug
-
Reinstall both OE bolts using a 10mm socket or wrench and torque to snug
-
Install 40mm long SS bolt and small washer into Riv-Nut using a 8mm socket or wrench. Torque to snug
-
-
-
Locate Passenger side (RH) fender area
-
-
-
Locate existing small hole on driver-side fender as shown in red circle
-
Use Riv Nut tool to install M5 riv nut
-
Riv Nut successfully installed. It is confirmed installed correctly when the riv nut is snug in place and will not pull back out from the hole
-
-
-
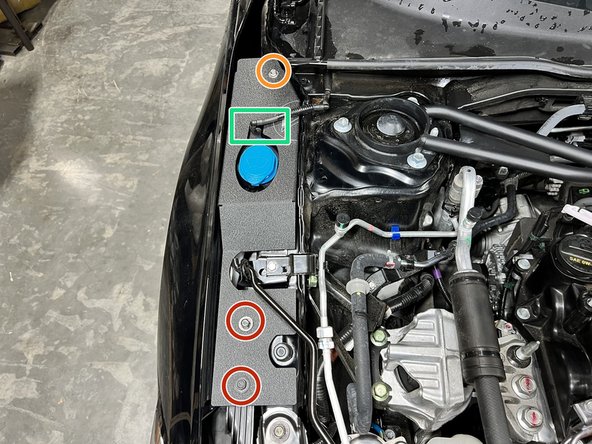
Use 3/8" ratchet and 10mm socket to remove the two 10mm bolts
-
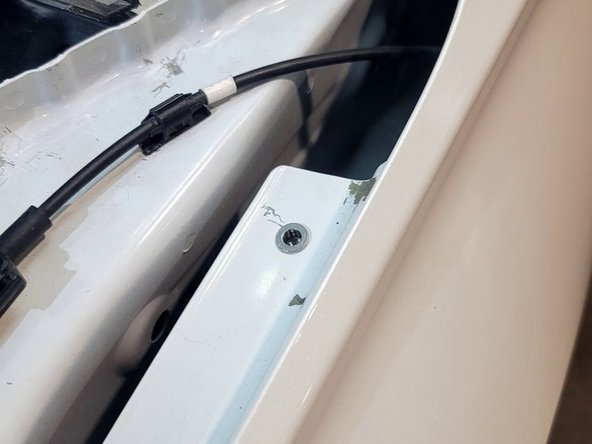
Disconnect the windshield washer hose by pulling the halves apart
-
-
-
Place passenger side shroud as shown
-
Line up holes on the bottom of the shroud with the two bolts removed in the last step
-
Install supplied 8mm SS bolt and small washer and torque to snug
-
Reinstall both 10mm bolt and torque to snug
-
Put two windshield washer hose halves back together
-
-
-
This completes the installation of your 27WON Performance Fender Shrouds
-
We hope you were impressed with your 27WON experience and love your new shrouds for years to come. Email us at sales@27won.com or call us at 571-271-0271 with any questions or concerns
-
Please Leave a review here: https://store.27won.com/11th-gen-honda-c...
-
Share your experience using #27WON on Instagram and Facebook
-