Introduction
In this installation guide we have provided step by step instructions to install the 27WON Performance Front Strut Tower Bar.
Advisory:
- The engine bay will be hot after recent vehicle operation. Allow the vehicle to cool or use a fan to cool the engine bay before working on the vehicle.
- When disconnecting a battery, always disconnect the negative battery terminal first and be careful with the use of metal tools.
-
-
First and foremost; THANK YOU for becoming a part of the 27WON Family. We hope to REDEFINE your experience of the aftermarket with the highest level Parts, Customer Service, Packaging, & Support
-
These instructions were written with a 2022 Honda Civic EX and 2023 Acura Integra A-Spec. Other models will be similar
-
-
-
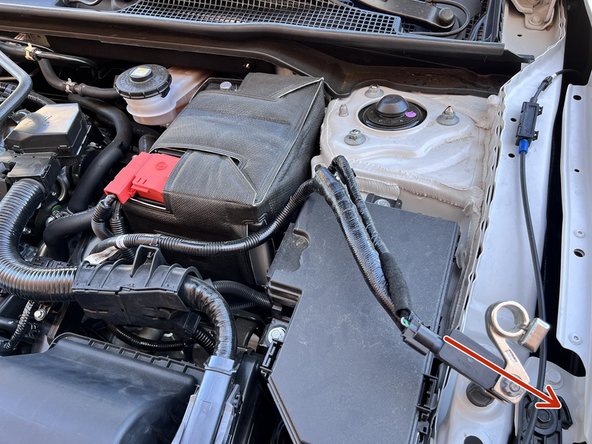
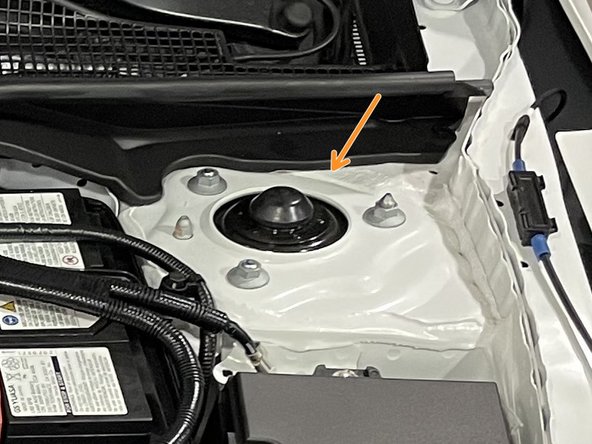
Locate battery near firewall on left side of vehicle. Determine if battery blanket is present
-
Skip to Step 6 if your car does not have OE battery blanket as shown
-
FSTB will not fit properly if battery blanket is not adjusted or removed
-
-
-
Skip to Step 6 if your car does not have battery blanket
-
Use a flathead screw driver to pop off the plastic top on left sided j-hook
-
Use 10mm deep socket and ratchet to remove the 2x 10mm nuts on the j-hooks
-
Set tie down and j-hooks aside for reinstallation later
-
-
-
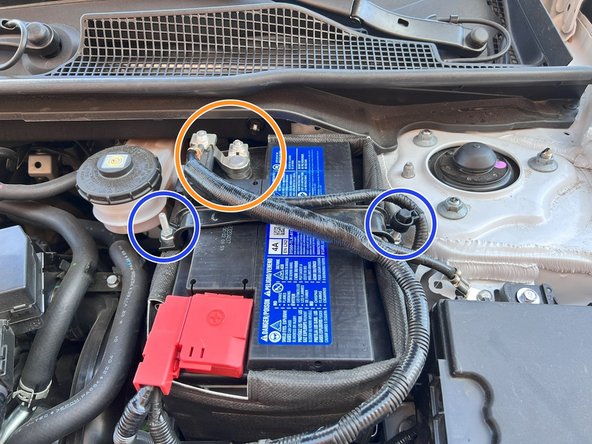
Use 10mm deep socket and ratchet to loosen the10mm nut on top of negative battery terminal and pull off the terminal
-
Set terminal end aside. You now have total access to top of battery
-
-
-
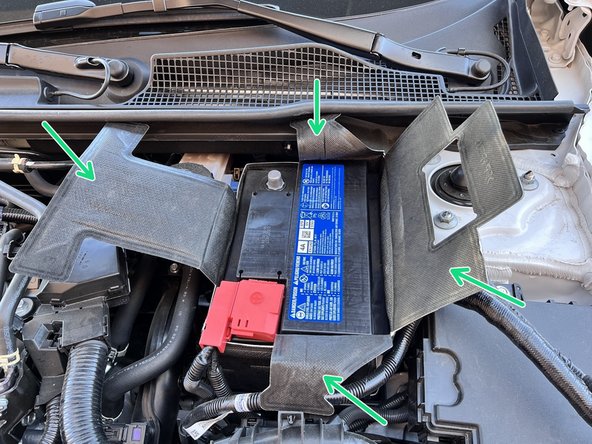
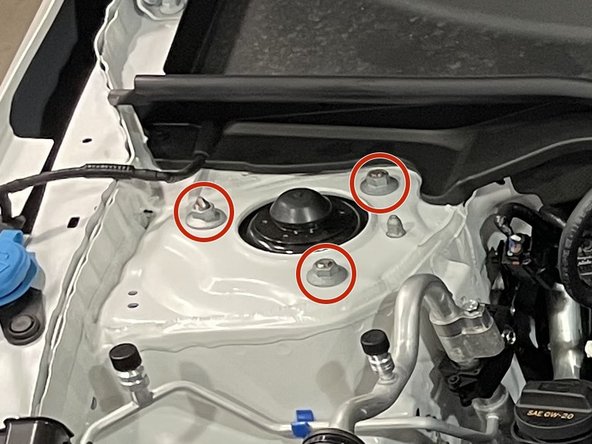
Unfold the top of the battery blanket to expose the 4x sides of the battery blanket
-
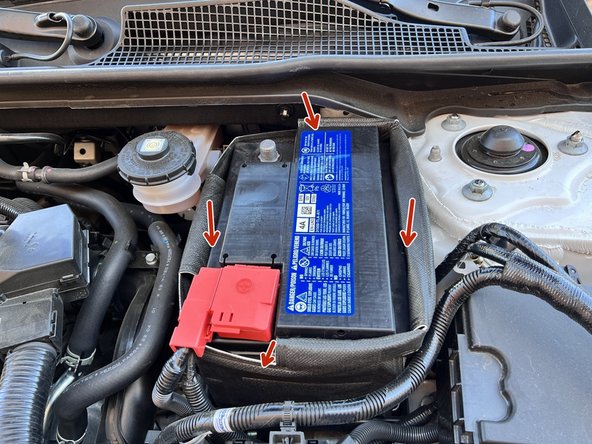
One at a time fold each side of the battery blanket inside towards the battery as shown
-
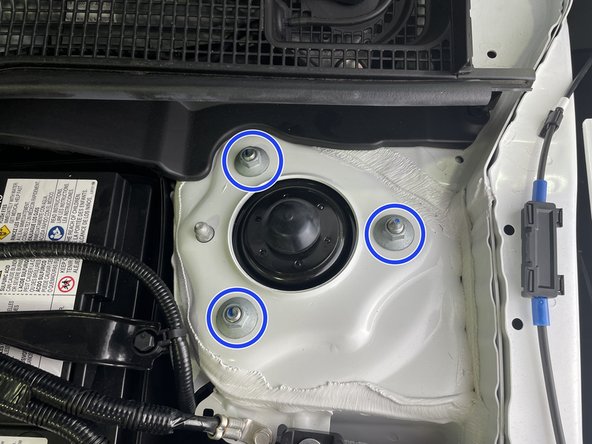
Reinstall negative battery terminal and torque to snug
-
"torque to snug" is defined as 1/4 to 1/2 more rotation after setting resistance is felt
-
Reinstall j-hooks and torque the 10mm nuts until slight resistance is felt and the battery tie down will not slide around. Pop the black plastic tab back onto the left sided j-hook
-
-
-
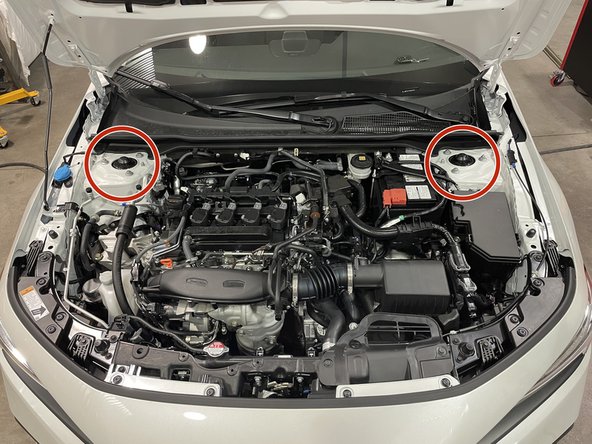
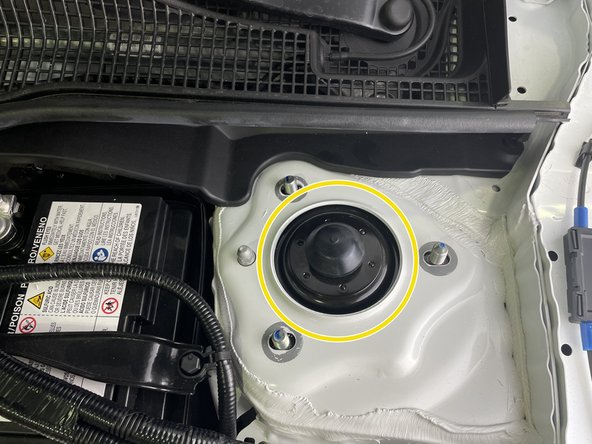
Locate the strut tower tops in the engine bay
-
Shown are the passenger and driver side strut tower tops
-
-
-
If you have an aftermarket suspension that could move when undone, be sure to note where it is located prior to the removal of the hardware. Failure to do so could change the alignment of your vehicle when reinstalling the strut hardware
-
Remove three (3) flange nuts with a 14mm deep socket and ratchet wrench from the passenger side
-
Remove three (3) flange nuts with a 14mm deep socket and ratchet wrench from the driver side
-
Clean any debris from the strut top surfaces
-
-
-
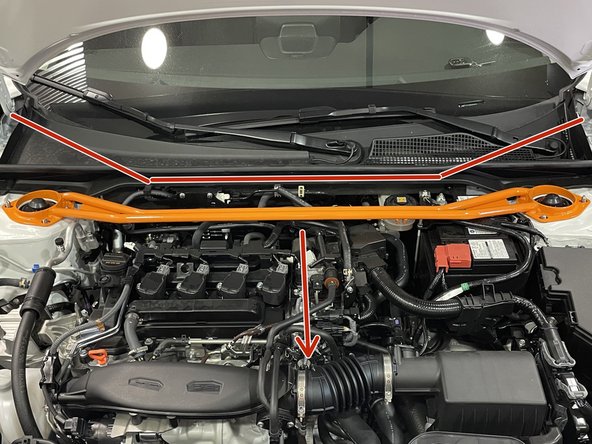
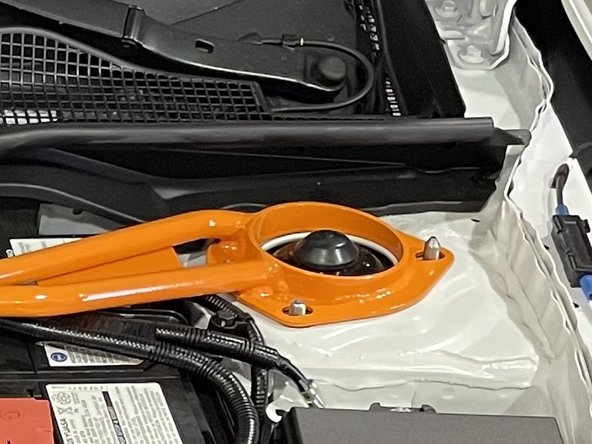
Orientate the strut bar as shown
-
Place each end of the strut bar down on the strut tops over the studs
-
-
-
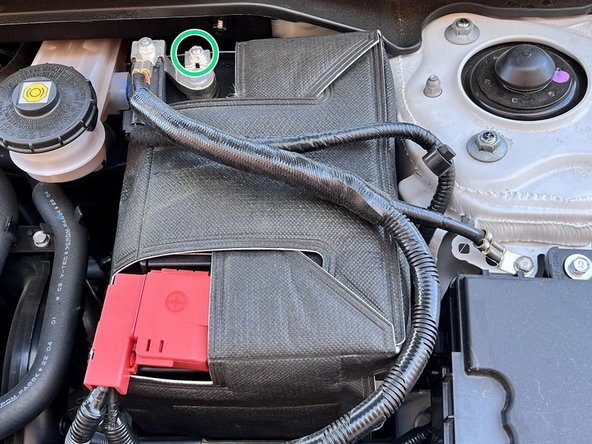
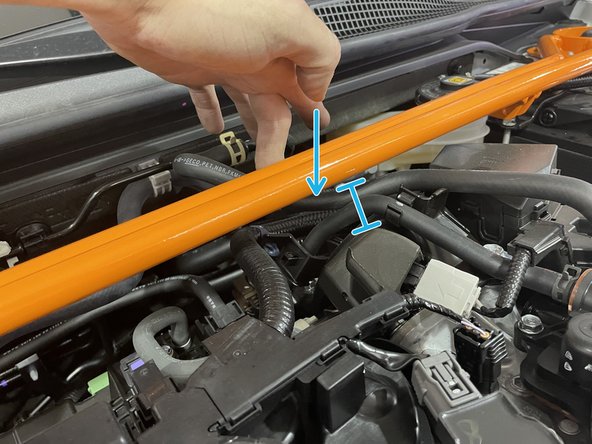
The strut bar sits very close to the battery cable, please verify the cables are not pushing up into the strut bar
-
If the cables are pushing into the strut bar, adjust the cables by flexing them toward the front of the car a bit to create clearance
-
The battery cables are insulated and protected by a plastic jacket but minimizing contact with the bar is preferred
-
-
-
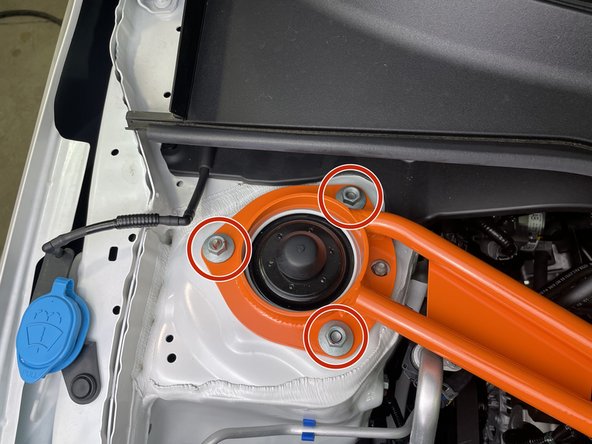
Install the three (3) OEM flange nuts
-
Using a torque wrench and 14mm socket, torque each nut to 53-55 lb-ft
-
-
-
Install the three (3) OEM flange nuts
-
Using a torque wrench and 14mm socket, torque each nut to 53-55 lb-ft
-
-
-
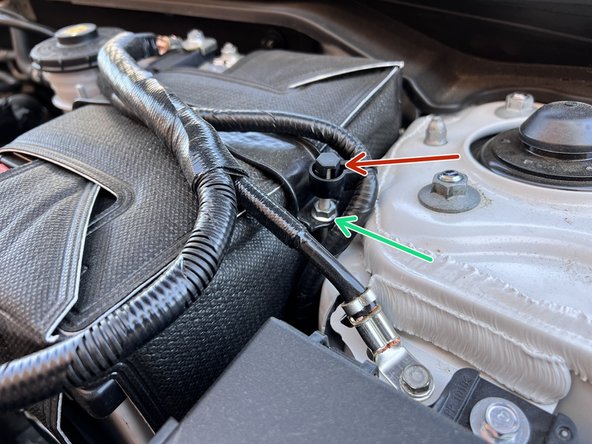
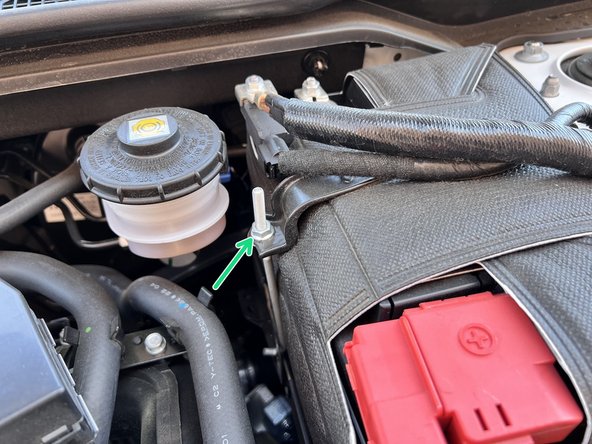
With the FSTB installed in the car, the FSTB will contact the vaccum hose shown
-
To stop the hose from rubbing on the FSTB during engine movement, the hose must be zip tied to the adjacent hose with the provided zip tie
-
Push down on the vaccum hose and loosely zip tie it to the adjacent hose
-
Be careful not to over tighten the zip tie as this could damage the hoses
-
Cut the excess zip tie with wire cutters or scissors
-
-
-
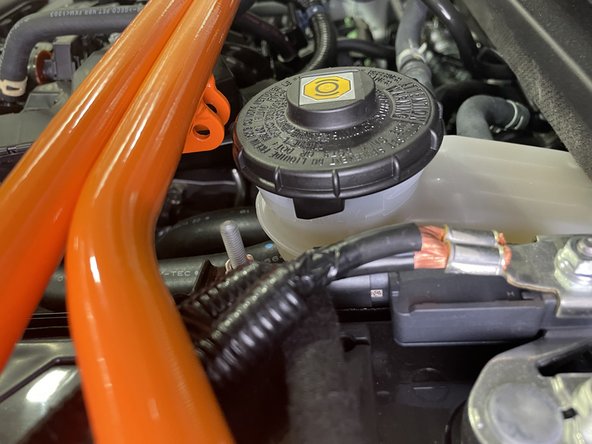
Note the Brake Reservoir will be very close to the tabs, this is expected
-
The tabs are present to allow for the possible future release of a compatible brake brace.
-
-
-
This completes the installation of your 27WON Performance Front Strut Tower Bar
-
We hope you were impressed with your 27WON experience and love your new Front Strut Tower Bar for years to come. Email us at sales@27won.com or call us at 571-271-0271 with any questions or concerns
-
Please Leave a review here: https://store.27won.com/11th-gen-civic-f...
-
Stay Connected with the latest developments with the 27WON Monthly Newsletter: https://store.27won.com/27won-newsletter...
-
See the latest Products and Tech Videos from 27WON with a quick Subscribe: https://www.youtube.com/27won
-
Share your experience using #27WON on Instagram and Facebook
-